
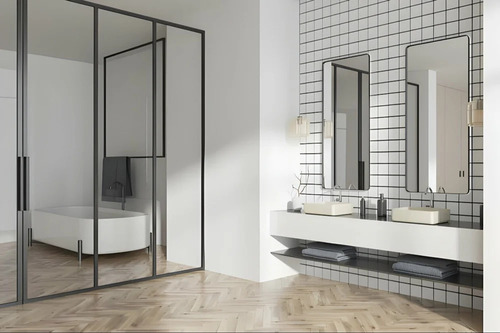
Installing a shower screen is one of the most rewarding bathroom upgrades you can make at home. A properly installed shower screen transforms your bathroom appearance, prevents water damage, and adds real value to your property. While hiring a professional is always recommended for complex installations, understanding the step by step process helps you appreciate what is involved and ensures the job is done correctly. Here is everything you need to know about installing a shower screen like a true professional.
Step 1: Gather Your Tools and Materials
Before starting any installation, ensure you have everything required on hand. Professional installers always prepare fully before beginning work. You will need:
- Shower screen kit including glass panels and frame hardware
- Power drill and appropriate drill bits for tiles and walls
- Spirit level for accurate alignment
- Measuring tape and pencil for marking
- Silicone sealant and sealant gun
- Screwdriver set
- Safety gloves and protective eyewear
- Masking tape for clean silicone lines
Having every tool ready before starting saves time and prevents costly mistakes during installation.
Step 2: Measure and Plan Your Installation
Accurate measurements are absolutely critical for a professional result. Measure the shower area carefully, including the width of the opening, wall height, and floor level. Check whether your floor and walls are perfectly level and plumb using a spirit level. Uneven surfaces require adjustment during installation to ensure the screen sits correctly and seals properly against water leaks.
Mark your drill points clearly with a pencil before picking up the drill. Double checking measurements at this stage prevents expensive errors later.
Step 3: Prepare the Wall Surface
Clean the wall surface thoroughly where the shower screen frame and seals will be attached. Remove any soap residue, mould, or old silicone from previous installations. A clean dry surface ensures the new silicone sealant bonds properly and creates a watertight seal that lasts for years.
If you are installing into tiled walls, identify the safest drilling points to avoid cracking tiles. Use a tile drill bit and apply masking tape over the drill point to prevent the bit from slipping during drilling.
Step 4: Install the Wall Channels and Frame
Fix the wall channels securely into your pre drilled holes using appropriate wall plugs and screws. Ensure channels are perfectly vertical using your spirit level before tightening screws completely. Even a slight misalignment at this stage will affect how the glass panels sit and how well the door opens and closes.
For frameless shower screens, wall brackets are fixed directly into the wall at precise measurements to support the weight of the glass panels safely and securely.
Step 5: Fit the Glass Panels
With channels and brackets securely in place, carefully fit the glass panels into position. Toughened safety glass is heavy, so always have a second person assist during this step. Slide panels into wall channels carefully, checking alignment as you go. Attach hinges, handles, and any door fixtures according to the manufacturer instructions provided with your shower screen kit.
Step 6: Apply Silicone Sealant
Apply a neat continuous bead of waterproof silicone sealant along all joints where the screen meets the wall, floor, and between panels. Use masking tape on both sides of the joint for clean straight lines. Smooth the silicone with a wet finger and remove masking tape immediately before the silicone sets.
Allow silicone to cure fully for at least 24 hours before using the shower.
Step 7: Final Inspection and Testing
Once silicone has fully cured, inspect every joint, seal, and fitting carefully. Run water to test for any leaks around seals and frames. Check that doors open and close smoothly and that all hardware is tight and secure.
For guaranteed professional results, contact a trusted installing shower screen today and transform your bathroom with confidence.
Professional window glass glazing in Melbourne delivers superior comfort, energy efficiency, and style for every home and business. Whether you need double glazing to reduce heat loss, toughened safety glass for added security, or acoustic glazing to block outside noise, Melbourne’s trusted glazing specialists have the perfect solution. With expert installation and quality materials, upgrade your windows today and enjoy lasting results every season. Call now for a free quote.